Showing posts sorted by relevance for query lines. Sort by date Show all posts

Wednesday, October 9, 2024

Kindergarten Pumpkin Inspired by Piet Mondrian

 Halloween Art Lesson Plan


Perfect for spooky season! Let's jazz this up with some Mondrian flair. Here's a fun lesson for kindergarten:

Lesson Title: "Mondrian Pumpkins"

Objective:

Students will learn about the Dutch artist Piet Mondrian, his use of geometric shapes and primary colors, and apply these elements to create their own pumpkin drawings.

Materials:

  • White drawing paper (8.5" x 11" or larger)

  • Pencils and erasers

  • Black markers or crayons

  • Primary color markers, crayons, or watercolor paints (red, blue, yellow)

  • Rulers

Introduction (10 mins):

  1. Briefly introduce Piet Mondrian, highlighting his most famous works.

  2. Show examples of his art, focusing on "Composition with Red, Blue, and Yellow."

  3. Discuss how Mondrian used simple lines and primary colors to create complex, balanced compositions.

Activity Steps (30 mins):

  1. Draw the Pumpkin Shape:

    • Have the students lightly draw a large pumpkin shape in the center of their paper using a pencil.

    • Encourage them to make their pumpkin big and take up most of the paper.

  2. Divide with Lines:

    • Using a ruler and pencil, ask the students to divide their pumpkin into sections with horizontal and vertical lines, reminiscent of Mondrian's style.

    • Some sections should be big, others small; the goal is variety, not uniformity.

  3. Outline with Black:

    • Trace over the pencil lines with a black marker or crayon to make bold, thick lines.

    • Ensure every section is neatly outlined for the Mondrian effect.

  4. Color the Sections:

    • Fill in the sections with primary colors (red, blue, yellow).

    • Some sections can remain white, just like in Mondrian's works.

    • Encourage neat coloring or painting within the lines.

  5. Add Finishing Touches:

    • If there's time, students can add a background or a stem, but it should still reflect Mondrian’s geometric and minimalistic style.

Conclusion (5 mins):

  • Display the completed Mondrian Pumpkins around the room.

  • Have a quick discussion about how using simple lines and colors can create interesting art.

  • Encourage students to share what they enjoyed about combining Mondrian’s style with their pumpkin drawings.

Reflection:

  • Ask students what they found easy or challenging about this activity.

  • Talk about how art can inspire and be interpreted in different ways.

Voila! You've got a perfect blend of abstract art and autumn vibes.  


šŸŽƒ šŸŽƒ šŸŽƒ šŸŽƒ šŸŽƒ šŸŽƒ šŸŽƒ šŸŽƒ šŸŽƒ šŸŽƒ šŸŽƒ

If you need an emergency art sub lesson that is ready to print and hand to a sub, these might be just what you need. Save yourself hours of time writing sub plans when you least feel like it.

Draw a Haunted House or Doodle Monsters at Halloween


Drawing for an art sub lesson on doodle monsters at Halloween


Tuesday, November 17, 2015

Back to School - FREE Art Sub Lesson - K-1

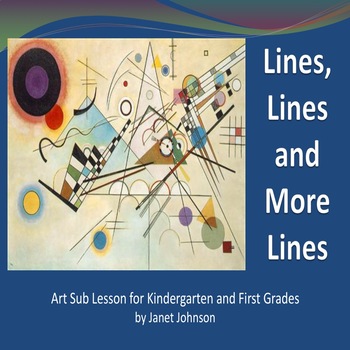
Lines, Lines, and More Lines - Art Sub Plan

This art sub-plan is actually a lesson I taught as one of my back-to-school lessons every year. I taught it with kindergarteners mainly, but also with preschoolers and first graders on occasion. Also, as a part of this lesson, I did a lot of movement, creating silly sounds and lines with our bodies. This made it one of my all-time favorite kinder lessons.

You can have this PowerPoint for FREE. You may find it at my lesson plan shop, ENJOY!


Kandinsky painting of lines

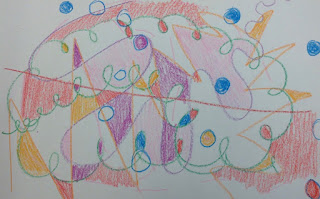
kindergarten drawing of lines


Wednesday, July 12, 2017

5 Back to School Art Sub Lessons

Art Sub Lessons that Anyone Can Teach


photo announcing the title of this post
Back to school time must be the hardest time to think up art Sub lessons. Here Are 5 Art lessons that are easy enough for art subs and classroom teachers but can be used by art teachers as well.
Child's drawing of a variety of lines
Lines, Lines, and More Lines by Jan Johnson at Art Sub Lessons


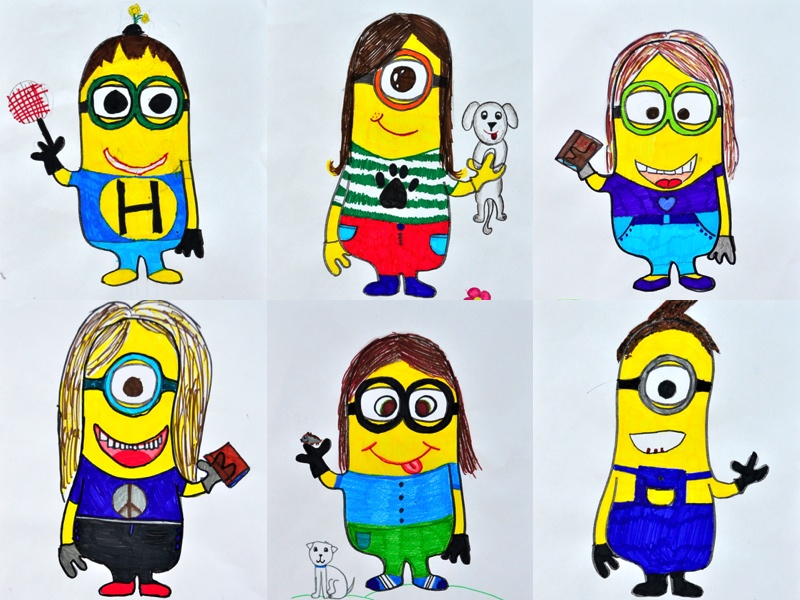
Middle School student drawings of Minions
Minions by Miriam at Arte a Scuola

student radial design on a paper plate
Dot Day by Ms. O'Hanley at Tales from the Traveling Art Teacher
Collaborative Creatures by Katie Weymouth at Briargrove Elementary Art Page


Tuesday, November 12, 2024

How to Draw a Turkey - Free Elementary Art Sub Lesson

Step-by-Step Turkey Tutorial


Why draw turkeys???

Drawing fall turkeys isn’t just about cute pictures—it’s a fantastic way to help kids learn, grow, and have a ton of fun. Here are some reasons to consider teaching this lesson:

1. Drawing helps kids build their tiny hand muscles.

2. Turning simple shapes into a turkey sparks creativity. Kids start seeing the world in exciting new ways.

3. When kids finish their turkey drawings, they feel super proud. It's a great confidence boost.

4. Figuring out where to put each shape helps kids develop critical thinking skills.

5. Drawing with shapes is a sneaky way to teach math. Who knew turkeys were so educational?

6. Drawing a turkey can lead to chats about Thanksgiving and traditions.

7.  Adding little details to their drawings helps kids improve their concentration.

8.  Each turkey is a little masterpiece that reflects the child's personality.

So, with that, let's get started.

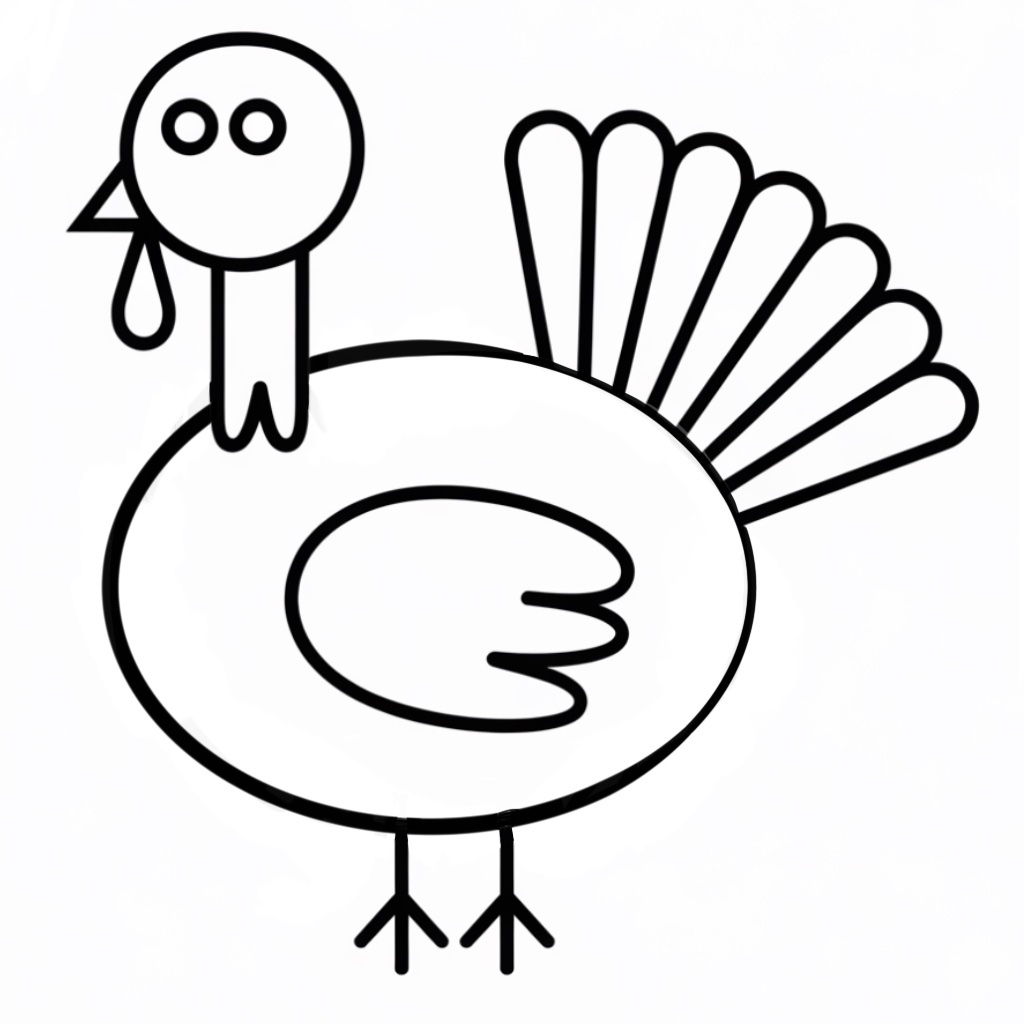
1. Start by drawing a big oval in the middle of the paper. This will be the turkey's body.


2. Draw a small circle above the turkey, to the side a little.


3. Draw two lines down from the head to the body. This makes the neck. You can draw a bumpy line between the lines or draw a straight line. 


4.  Draw a small triangle on the side of the head for a beak and two small circles inside the head for the eyes.


5.  Draw a curved shape under the head for the waddle.


6.  On the back of the oval body, draw ling curved shapes for the tail feathers. Draw was many as you like.


7. Inside the body, draw a "C" shaped curve for the shape of a wing. On one end of it you can draw a bumpy line to make it look like feathers are sticking out.


8.  On the bottom of the turkey, draw two straight lines for the legs. Then, draw three lines out from each to look like the turkey feet.


What can you ado after you draw it?

You can fill it with pattern.


You can add a background.


You can color it in. 


Where can you find turkey lessons that are ready to hand to a sub?

If you would like some ready made art sub lessons and early finishers worksheets, check these out in my TPT shop: Art Sub Lessons.

Click to see Create a Turkey in Disguise print and go lesson. You can buy this, print it out, and you are ready to teach it. Or add it to your wish list for later!


Click to see the worksheet Create a Turkey in Disguise early finishers worksheet. It is ready for you to purchase and print out or you can add it to your wish list!